
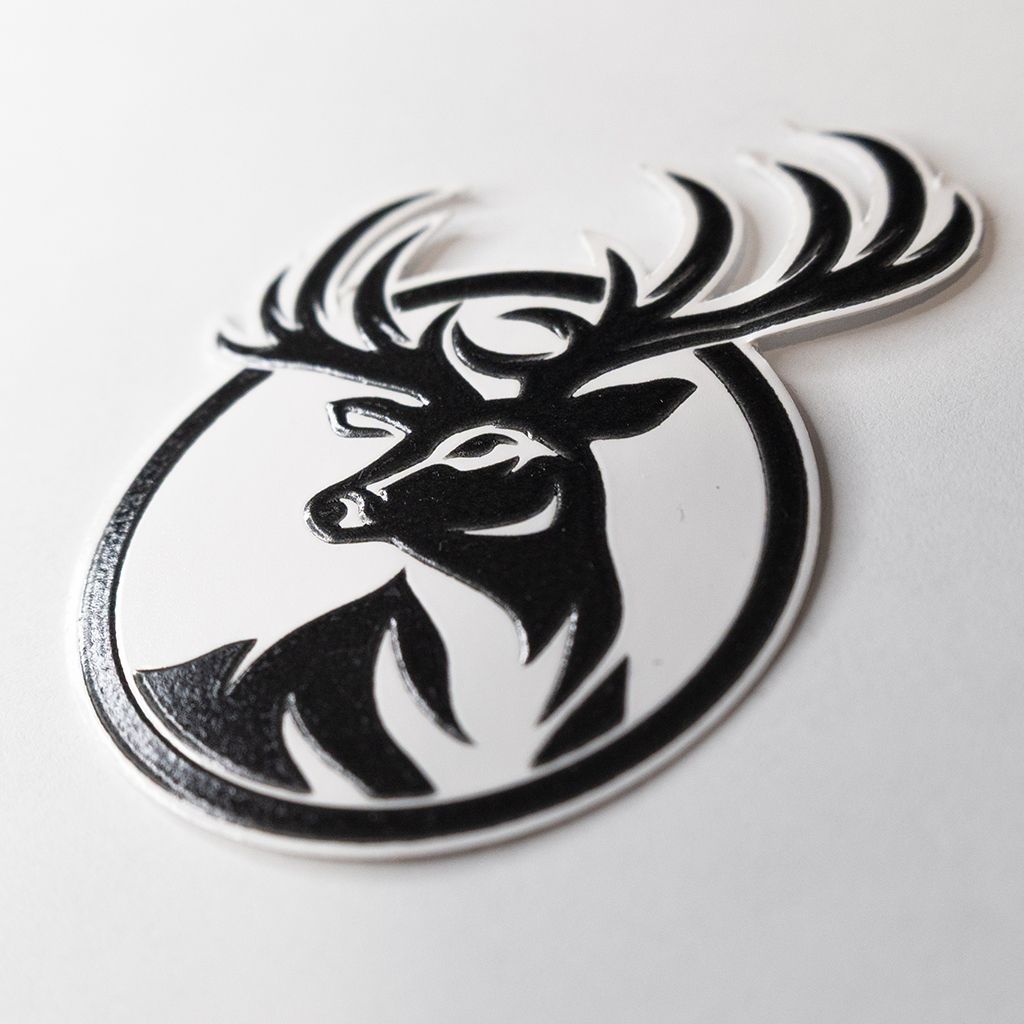
Stickers
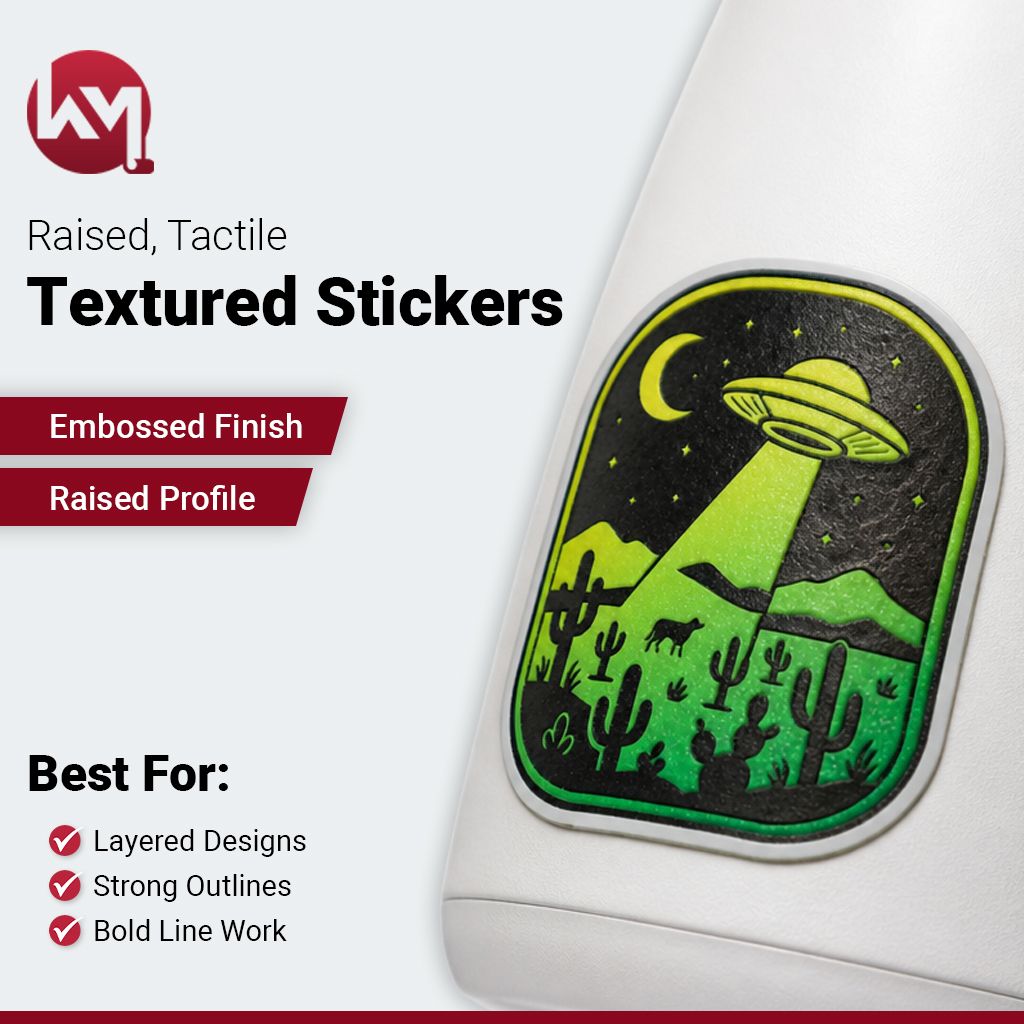
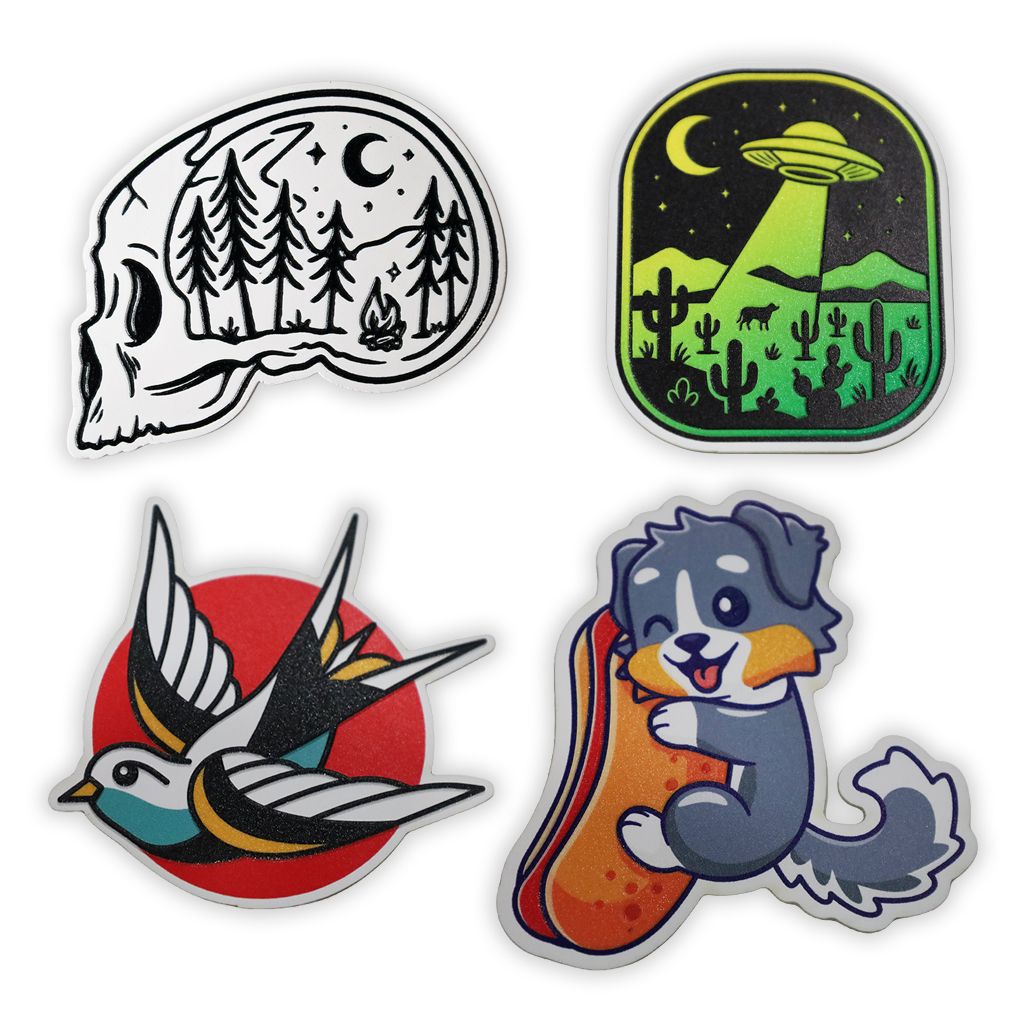
Textured Stickers
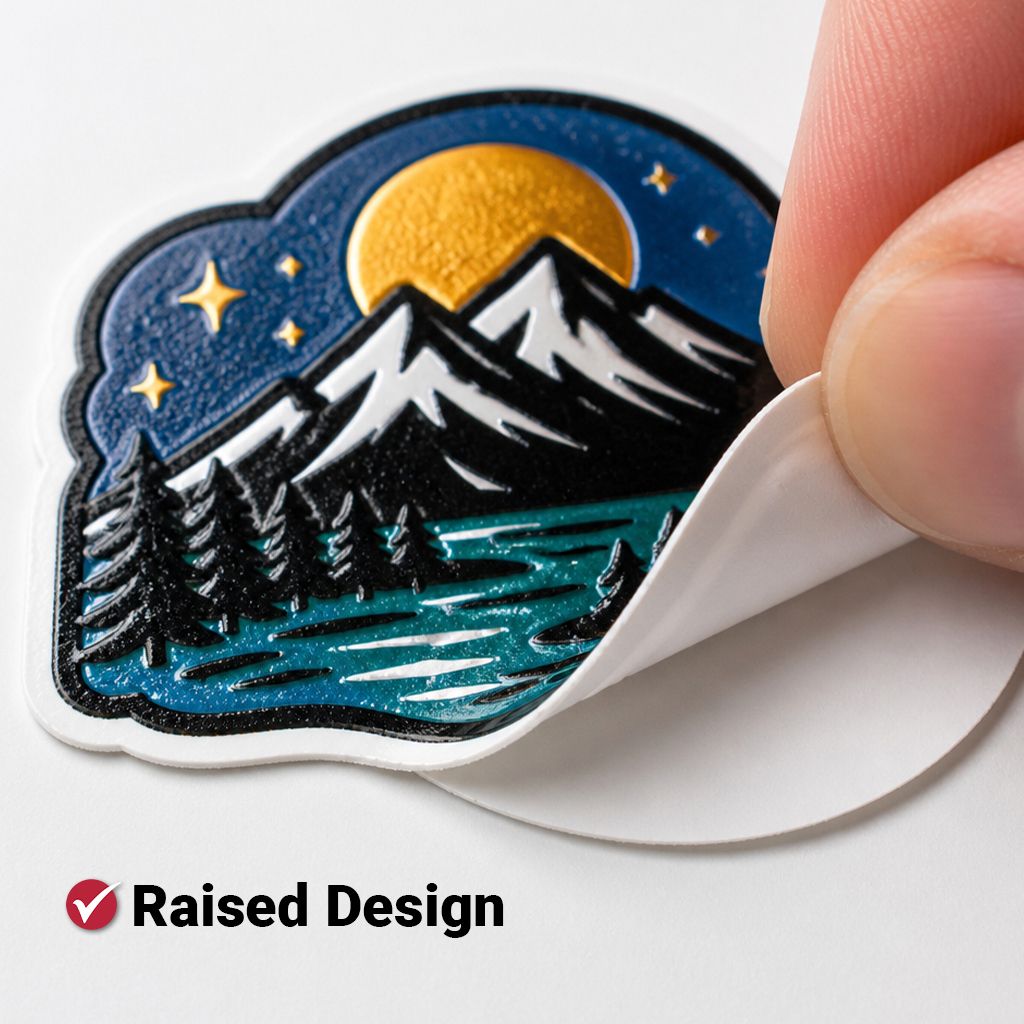
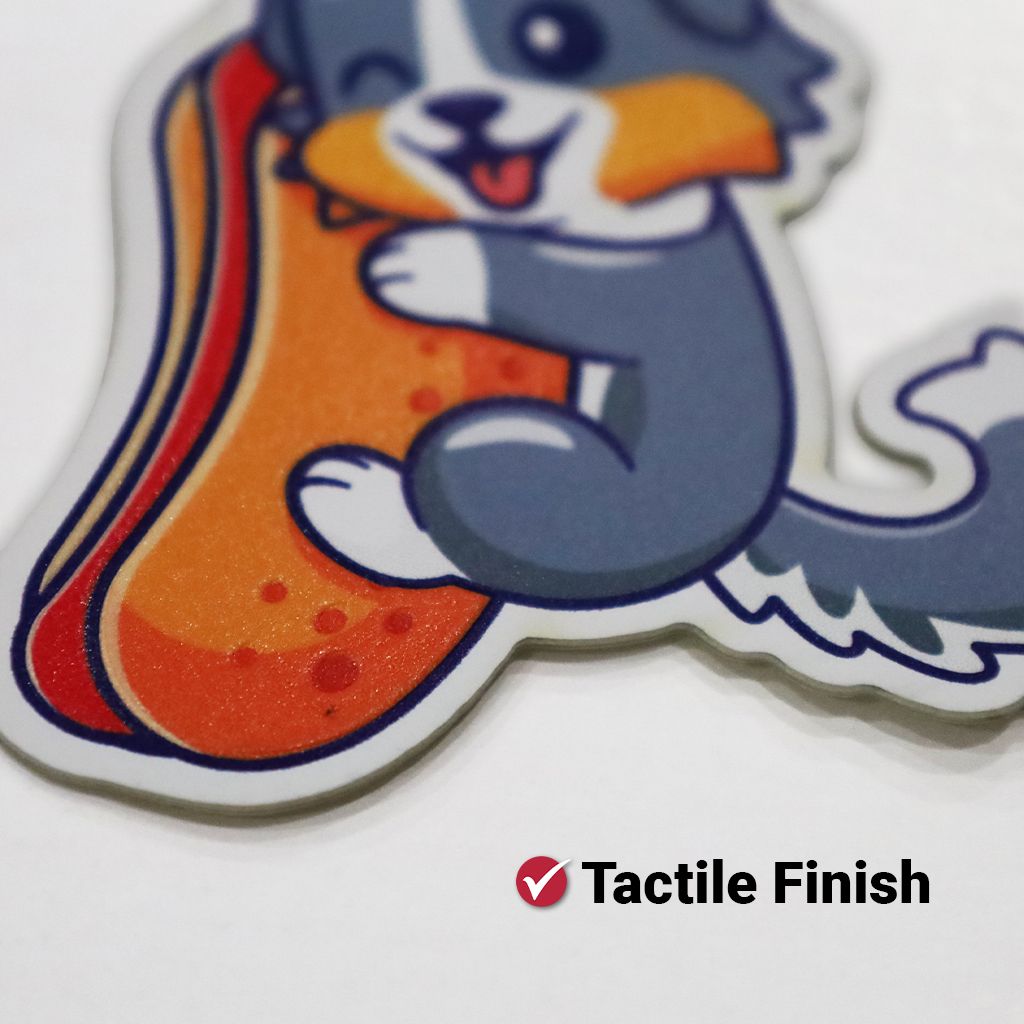
These stickers give a raised effect, are printed with UV ink, die cut into the shape of the artwork.
Digital Proof ready within 24 hours; once the digital proof is approved, stickers will be shipped or ready for pick up in 2-3 business days.
We do not accept Gang sheets for this product.
We do not take Rush Orders for this product.
No Minimums

No Setup Fees

Weather Resistant & Durable

Removable Sticker

Same Day Shipping

Bulk Order Discounts

Digitized Proof ready within 24 hours
Artwork and Specifications
Step 1 - Prepare the Surface
● Clean the area where you plan to apply the sticker.
● Make sure it's free from dust, dirt, oil, or moisture.
● A lint-free cloth dampened with mild soap and water works well.
● Dry the surface thoroughly.

Step 2 - Peel the Sticker Carefully
● Gently peel the sticker from its backing, starting from one edge.
● Take care not to touch the adhesive side too much to avoid leaving fingerprints or reducing stickiness.

Step 3 - Position the Sticker
● Align and position the sticker over the target area.
● Hold it above the surface before making contact so you can adjust as needed for perfect placement.

Step 4 - Apply the Sticker
● Once satisfied with its position, press down lightly on one edge of the sticker.
● Gradually smooth it over the surface, moving from one side to the other.
● This helps prevent air bubbles from forming under the vinyl.

Step 5 - Smooth Out Bubbles
● Use a squeegee, credit card, or your fingers wrapped in a soft cloth to firmly press and smooth the sticker.
● Start from the center and work outward to push out any air bubbles.

Step 6 - Check the Edges
Press down on the edges of the sticker to make sure they are securely adhered, especially for intricate die-cut shapes.
Step 7 - Let It Set
● Allow the sticker adhesive to set for several hours.
● Avoid washing the area or exposing it to heavy moisture immediately after application for best durability.

Step 8 - Removal (if needed)
If you ever wish to remove the sticker, gently peel it off. Our vinyl is designed to come off cleanly without leaving sticky residue.


FAQ's
What surfaces can I apply Textured Stickers to?
How do I prepare my artwork for printing?
Are Textured Stickers weather-resistant?
Can I get custom shapes and sizes?
Is there a minimum order quantity?
How long does processing and shipping take?
Will I receive support if I have issues uploading my design or placing an order?